Moka Pot Coffee Brewing: The Ultimate Guide

Looking to enhance your coffee brewing skills? Look no further! In this ultimate guide, I will walk you through the step-by-step process of brewing the perfect cup of coffee using a Moka pot. Whether you’re a Moka pot novice or a seasoned pro, this article has got you covered. From selecting the right coffee grind size to achieving the ideal water-to-coffee ratio, you’ll learn all the tips and tricks you need to unlock the full potential of your Moka pot. So grab your favorite coffee beans and get ready to embark on a flavorful journey!
Page Contents
Choosing the Right Coffee
Selecting the right coffee beans
When it comes to brewing coffee with a Moka pot, selecting the right coffee beans is essential in achieving a delicious and flavorful cup. It’s important to choose beans that have been recently roasted and ground for the best results. Look for beans with a medium to dark roast, as these tend to work well with the Moka pot brewing method.
Grinding the coffee beans
Grinding the coffee beans just before brewing is crucial to preserving the aroma and flavor of the coffee. For a Moka pot, a medium-fine grind is recommended. This allows for optimal extraction during the brewing process. Avoid grinding the beans too fine, as it may result in a bitter and over-extracted cup of coffee. Conversely, grinding them too coarse could lead to a weak and under-extracted brew.
Preparing the Moka Pot
Cleaning the Moka pot
Before using your Moka pot, it’s important to give it a thorough cleaning. This helps remove any dust, residue, or lingering flavors from previous brews. Simply disassemble the pot and wash each component with warm water and mild detergent. Be sure to rinse all parts thoroughly to avoid any soapy residue affecting the taste of your coffee.
Assembling the Moka pot
Assembling the Moka pot is a straightforward process. Start by screwing the bottom chamber onto the base securely. Next, insert the funnel-shaped filter basket into the bottom chamber. Ensure it fits snugly and is aligned properly with the spout. Finally, attach the top chamber to the bottom chamber, ensuring a tight seal.

Preheating the Moka pot
Preheating the Moka pot before brewing can help maintain a consistent temperature and optimize the extraction process. Place the fully assembled pot on a stove over low heat for a few minutes. This will warm up both the water chamber and the coffee chamber, ensuring an even brewing process. Be careful not to overheat the pot to prevent any potential damage.
Measuring the Coffee and Water
Determining the coffee-to-water ratio
Getting the right ratio of coffee to water is crucial in brewing a well-balanced cup with a Moka pot. A general guideline is to use a ratio of 1:10, where 1 part coffee is paired with 10 parts water. This ratio can be adjusted based on personal preference and the strength of coffee desired.
Measuring the coffee
To determine the amount of coffee needed, it’s best to use a kitchen scale for accuracy. Measure out the desired amount of coffee beans based on the chosen ratio. Alternatively, you can use a tablespoon to measure ground coffee. A standard recommendation is using approximately 1 tablespoon of coffee per 1 ounce of water.
Measuring the water
Measuring the water accurately is equally important as measuring the coffee. Use freshly filtered water to ensure the best taste. It’s crucial to measure the water precisely to maintain consistency in each brew. A measuring cup or a graduated kettle can be used to measure the desired amount of water.
Grind Size and Consistency

Understanding the importance of grind size
The grind size of the coffee plays a significant role in the flavor and extraction process of the Moka pot. A finer grind size increases the surface area, allowing for a faster extraction and a richer flavor. Conversely, a coarser grind size slows down the extraction and can result in a weaker cup of coffee.
Choosing the right grind size for a Moka pot
For a Moka pot, a medium-fine grind is ideal. This grind size is slightly coarser than espresso but finer than drip coffee. It allows for a moderate extraction time, preserving the flavors and aromas of the coffee. Experiment with different grind sizes to find the one that produces the desired taste and strength.
Achieving consistent grind size
Consistency in grind size is crucial to achieving consistent and balanced brews. Invest in a good-quality burr grinder, as it offers more control over the grind size compared to blade grinders. Burr grinders ensure a uniform grind, resulting in a better extraction and an overall improved cup of coffee.
Filling the Moka Pot
Filling the water chamber
To fill the Moka pot’s water chamber, unscrew the top and remove it. Fill the chamber with cold, filtered water up to the designated fill line or just below the safety valve. Avoid overfilling, as it can lead to uneven extraction and potential spillovers during brewing.
Adding the coffee grounds
Place the funnel-shaped filter basket on top of the water chamber. Add the measured coffee grounds into the basket, ensuring an even distribution. Avoid tamping or pressing down the coffee grounds, as this can impede the flow of water during brewing.
Ensuring proper packing of coffee
After adding the coffee grounds, check for any loose grounds on the rim of the filter basket. Wipe away any excess to ensure a proper seal between the two chambers. This will help prevent any grounds from entering the brewed coffee and affecting the taste.
Assembling and Heating the Moka Pot
Screwing the top and bottom chambers together
Once the coffee grounds are in place, it’s time to reassemble the Moka pot. Screw the top chamber onto the bottom chamber, ensuring a tight seal. Avoid overtightening, as this can make it challenging to disassemble the pot later.
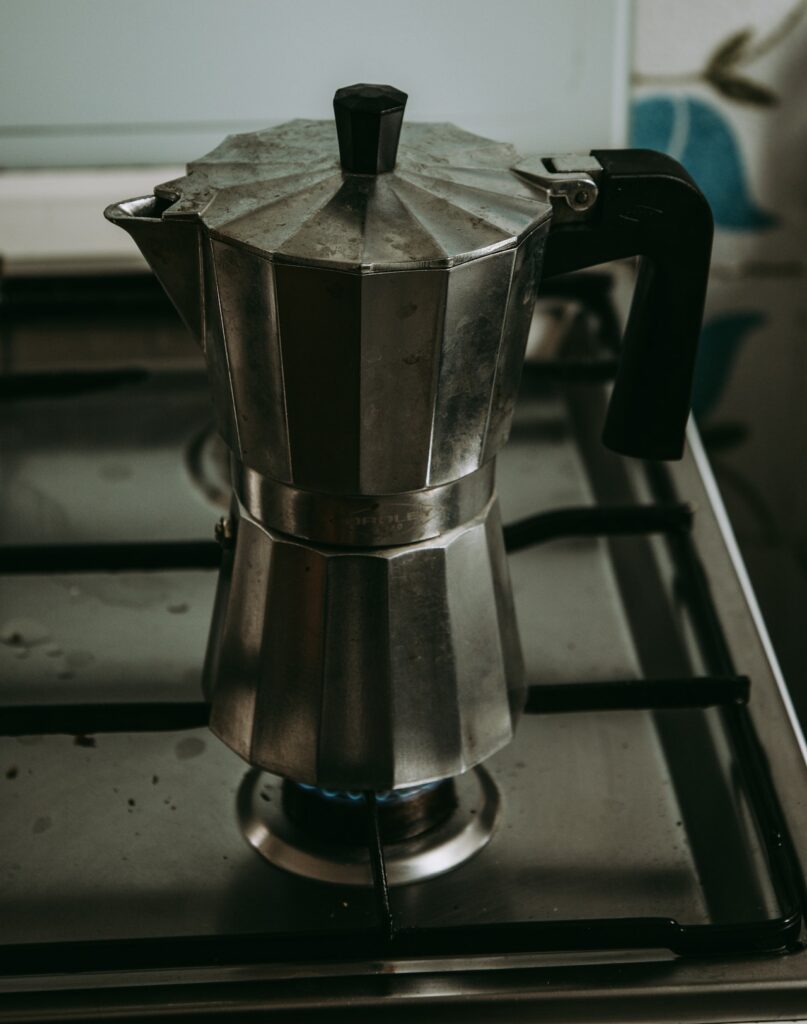
Placing the Moka pot on the heat source
Place the fully assembled Moka pot on a stove over medium heat. It’s essential to use low to medium heat to prevent the coffee from overheating and becoming bitter. Position the pot to ensure the heat is evenly distributed, allowing for a uniform extraction.
Monitoring the pot during heating
Keep an eye on the Moka pot throughout the heating process. As the water heats up, it will gradually move upwards through the coffee grounds and into the top chamber. The process should take approximately 4-6 minutes. Adjust the heat as needed to maintain a steady and controlled brewing process.
Brewing Techniques and Tips
Controlling the heat intensity
Maintaining control over the heat intensity is crucial in achieving a smooth and flavorful brew. If the heat is too high, the coffee can become over-extracted and develop a bitter taste. On the other hand, if the heat is too low, the extraction process may take longer, resulting in a weaker cup of coffee. Adjust the heat as needed to maintain the ideal balance.
Avoiding excessive boiling
One common mistake to avoid when brewing with a Moka pot is allowing the water to boil excessively. Once the water reaches boiling point, it’s recommended to reduce the heat slightly to a simmer. Excessive boiling can lead to an aggressive extraction and potentially burnt flavors in the coffee.
Using a thermometer for precision
For those seeking utmost precision, using a thermometer can be helpful in monitoring the brewing temperature. This allows for better control over the extraction process and can help achieve consistent results. The optimal temperature range for a Moka pot brew is between 195°F and 205°F (90°C-96°C).
Removing from heat at the right time
Timing is key when brewing with a Moka pot. As the coffee begins to flow into the top chamber, listen closely. Once you hear a gurgling sound that resembles a hiss, it’s a sign that the brewing process is coming to an end. Remove the pot from the heat source promptly to prevent any further extraction or potential bitterness.
Serving and Enjoying Your Coffee
Gently stirring the coffee
After removing the Moka pot from the heat, give the brewed coffee a gentle stir using a spoon. This helps distribute any concentrated flavors that may have settled at the bottom of the top chamber. Stirring ensures a consistent taste throughout the cup.
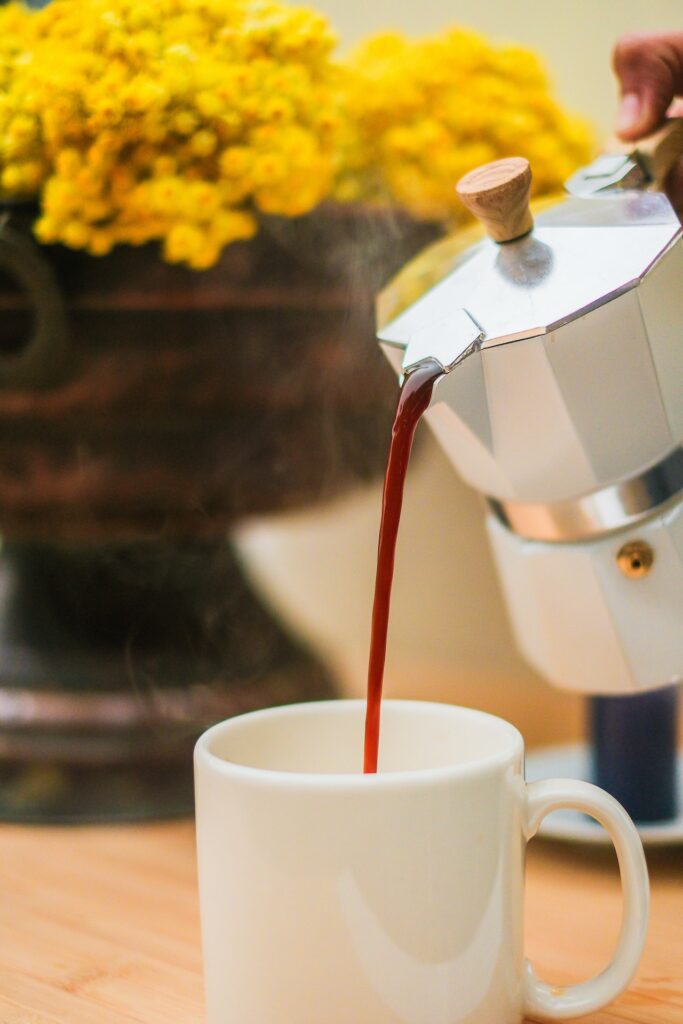
Pouring and serving the coffee
Carefully pour the freshly brewed coffee into your desired cup or serving vessel. Start by pouring slowly and gradually increase the speed to prevent any splashing or spilling. Serve immediately to enjoy the flavors at their peak.
Adding milk or sugar (optional)
While the flavors of a Moka pot coffee are often enjoyed as is, you can customize your cup by adding milk or sugar according to your preference. Experiment with different amounts and types of milk to find the perfect balance that enhances the flavors without overpowering them.
Tasting and savoring the coffee
Finally, take a moment to fully savor the experience of your freshly brewed Moka pot coffee. Observe the aroma, notice the flavors, and appreciate the richness. Allow yourself to immerse in the delightful combination of flavors and take pleasure in every sip.
Cleaning and Maintaining the Moka Pot
Disassembling the Moka pot
To clean the Moka pot, first, allow it to cool down completely. Once cooled, carefully disassemble the pot by unscrewing the top and removing the filter basket. Take apart all the components, including the rubber gasket, and separate them for a thorough cleaning.
Cleaning the Moka pot
Wash each part of the Moka pot with warm water and mild detergent. Use a non-abrasive sponge or brush to remove any coffee residue or stains. Pay extra attention to the filter basket and rubber gasket, as these areas tend to accumulate oils and particles. Rinse all components thoroughly to remove any soap residue.
Storing the Moka pot
After cleaning, ensure that all parts of the Moka pot are completely dry before reassembling or storing. Consider storing the pot disassembled to allow proper air circulation and prevent any moisture or odors from building up. Find a cool and dry place to store the Moka pot until its next use.
Troubleshooting Common Issues
Coffee tastes bitter or burnt
If your coffee tastes bitter or burnt, it may be due to over-extraction. Adjust the heat to a lower setting during brewing, and also check the grind size. Finer grinds can result in a faster extraction, potentially leading to bitterness. Experiment with coarser grind sizes and lower heat to achieve a smoother cup.
Coffee tastes weak or watery
Weak or watery coffee can be a result of under-extraction. Ensure that the grind size is fine enough and the heat is sufficient during brewing. Also, pay attention to the coffee-to-water ratio and adjust it accordingly. Increasing the amount of coffee or decreasing the amount of water can help create a stronger brew.
Leaking or spilling during brewing
If your Moka pot is leaking or spilling during the brewing process, it may indicate a faulty seal between the two chambers. Check that all parts are properly assembled and tightly screwed together. Inspect the rubber gasket for any signs of wear or damage, and replace it if necessary. A properly sealed pot should prevent any leaks or spills during brewing.
Difficulty in unscrewing the pot
Over time, the threads on the Moka pot can become tight and difficult to unscrew. To make the process easier, allow the pot to cool down completely before attempting to disassemble. If it still feels stuck, try using a cloth or rubber grip for better leverage while unscrewing. Avoid using excessive force, as it may damage the pot.